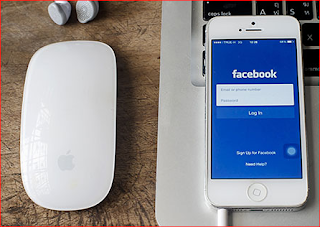
Have you ever found the high-resolution video that you took at your cousin’s wedding replaced by a grainy mess when you upload it to Facebook? This problem might not be something you face if you usually stick to uploading pictures or videos from your Desktop, but if you happen to be using your phone, you will find yourself with a file of a lower resolution being uploaded to your feed. This can happen in both devices equipped with iOS or Android.
Both the official apps by default only lets you upload photos and videos of a lower quality in order to save on bandwidth, the following needs to be done to overcome this:
1) On devices operating on iOS
iOS 10 provides you with the opportunity to integrate social media apps like Twitter, Facebook, Vimeo and Flickr. But accessing the settings will not allow you toggle between uploading files of lower and higher resolution. In order to get around this issue, you will need to make use the official Facebook mobile app.
The following is what you need to do:
a) Install the Facebook app.
b) Launch the Facebook app.
c) Go to the bottom right corner of the interface.
d) Tap the More button.
e) Scroll down and click on Settings.
f) A sheet asking you to choose between Account Settings, News Feed Preferences and Activity Log pops up.
g) Click on Account Settings.
h) Click on Videos and Photos.
i) Toggle the Upload HD button in the app to ON.
By doing this, the app as well as the phone will default to uploading high-definition videos.
For users on metered cellular plans, exercising caution will serve them well as transferring HD files will take much longer as the files produced are much bigger in size.
Disabling the iOS 9 feature called Wi-Fi Assist which switches to your carrier’s data network if the Wi-Fi connection is poor will be a good thing to do.
2) On devices operating on Android
Devices operating on Android, unlike iOS devices do not have the option of direct integration with social media. But the official Facebook app for Android is very efficient. By default, the videos and photos uploaded to Facebook will be of a low quality and in order to upload files of a higher resolution, the following needs to be done:
a) Install the Facebook app.
b) Launch the Facebook app.
c) Access the options screen in the top right corner.
d) Scroll down to Help and Settings.
e) Select App Settings.
f) The switches next to Upload Photos in HD and Upload Videos in HD must be toggled on.


No comments:
Post a Comment